
|
This article is archived. The content on this page was relevant to a previous version of Aion, and has since either been removed from the game or never was included in the public version. Please do not use this article for critical in-game information! |
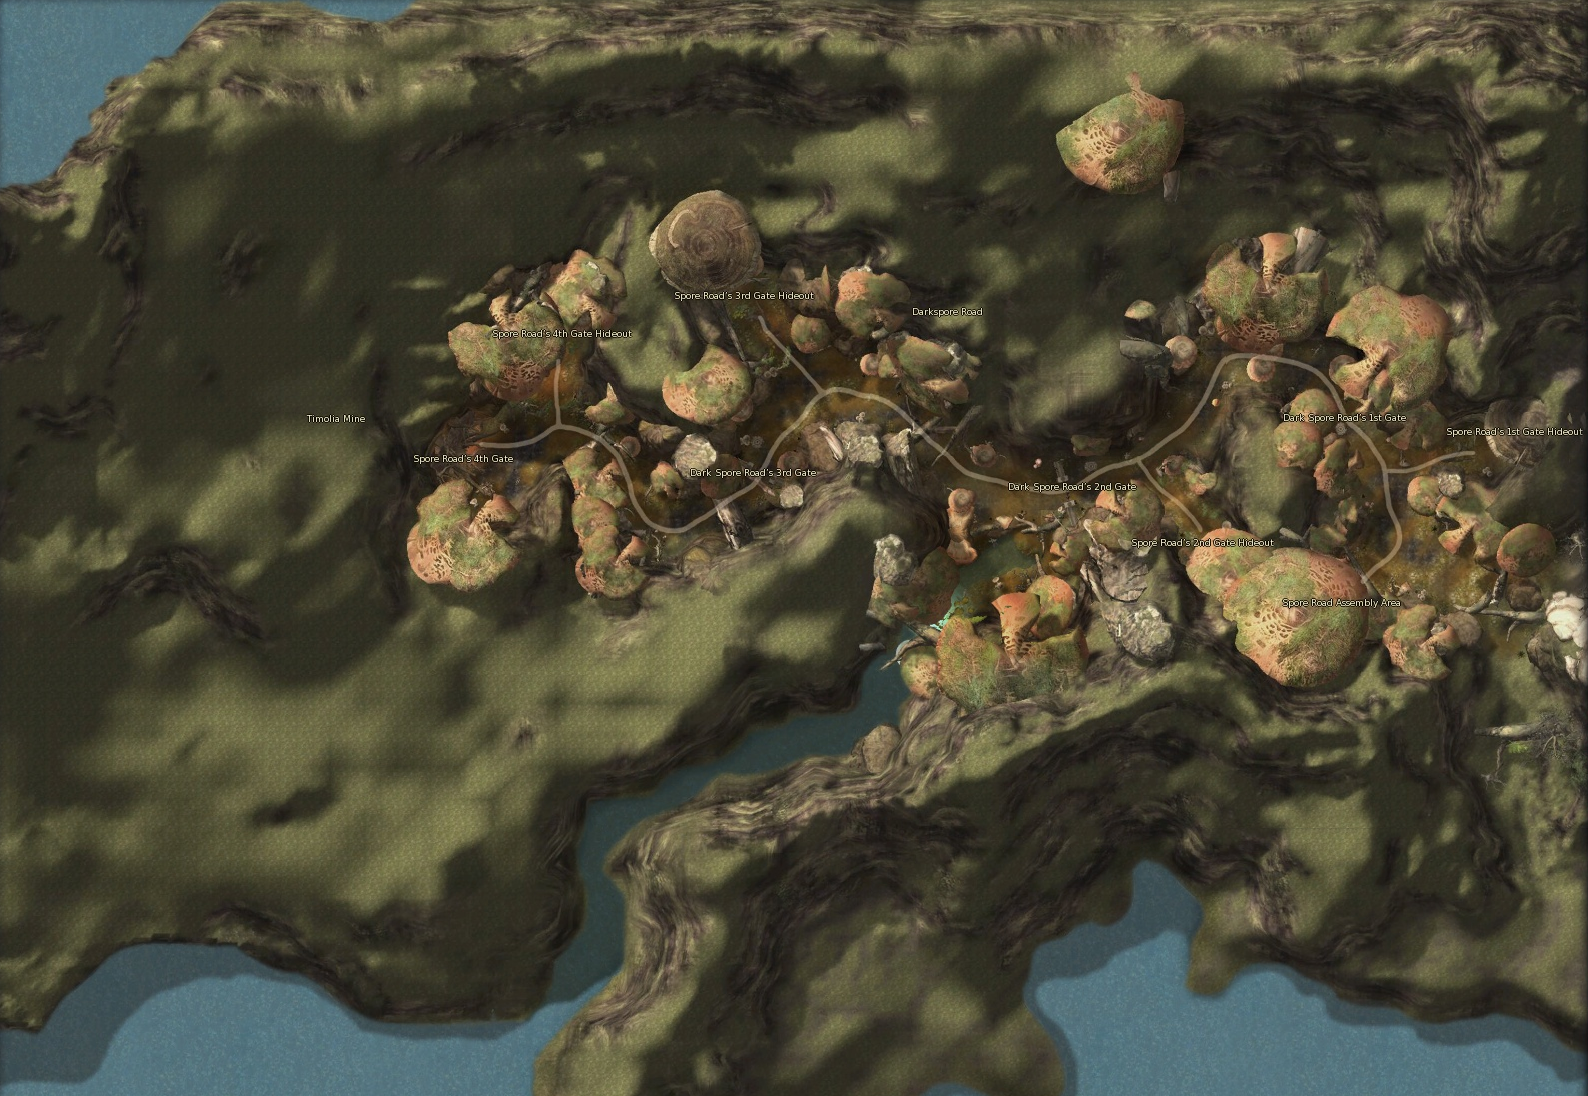
Fallen Poeta map
Fallen Poeta (FP), also known as Kroban Base, is a 3-player group instance for players of level 72 and above. Introduced in 5.1, it is accessible from Canyon of the Lost Souls Scout Post in Norsvold for Asmodians and Polten Marsh Scout Post in Iluma for Elyos. This is the realm of <KrobanArtifact Overlord Kroban>, an interdimensional creature, in which the events of Dark Poeta turned out differently.
Backstory[]
As several fragments of the Tower dropped to the lands on its bases, the concentration of Aether causes distortions in reality, even a reality which is not part of our timeline. This fragment quickly turned into an artifact, whose power is now following <Kroban'sArtifact Overlord Kroban> will, a creature alien to our reality.
The presence of this artifact was noted by the nearby Balaur legion, attempting their invasion on the Elysean region. Instead of perishing due to Aether, they were incredibly boosted by the artifact. Tempted by this power, <TahabataBrigade General Tahabata (FP)> heavily fortified the access to Timolia Mine, where he would attempt to open a vortex to <Kroban'sArtifact Overlord Kroban> hideout. He tasked <Lieutenant Anuhart> to make use of his newly acquired ability if needed.
However, it was not too late when Daevas noticed the strange line of defences put up by the Balaur. Unsure of their plans, to preserve the Tower fragment and avoid an imminent attack from them, a squad of Daevas was sent to put an end to this extradimensional danger.
Walkthrough[]

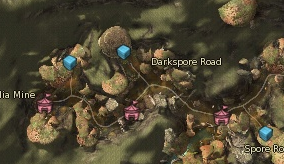
Map showing posts and Supply Boxes
The instance contains level 75 mobs. DPS is crucial inside, and as such certain classes will be more effective inside. For instance, due to the need to take down several groups of mobs swiftly, classes like Gladiators and Aethertechs strongly ease up the run.
The run can be separated into three parts, all of which are required to pass through to successfully end the instance. The first one is Dark Spore Road, where players will have to smash down Balaur barricades before <Lieutenant Anuhart> reaches them or the end of the valley. The second one is the interior of Timolia Mine, a straightforward path. And finally the battle against <Artifact Overlord Kroban> himself.
Resurrection skills and items cannot be used at all while in the Darkspore Road. NPCs may sometimes accept to teleport players with their group under certain conditions. However, once the first section is cleared, teleporting NPCs will be permanently up, offering to send players to the entrance to Timolia Mine. The resurrection restrictions are lifted inside the mine and <Kroban'sArtifact Overlord Kroban> hideout.
Dark Spore Road[]
Players will start in a crumbling house with two NPCs and a <Supply Chest>. The first section begins as soon as a player exits the house by chatting with the NPC at the door, and the ![]() <Thorn Tentacle Traps> dropped by the <Supply Chest> expire after 2 minutes.
<Thorn Tentacle Traps> dropped by the <Supply Chest> expire after 2 minutes.

Lieutenant Anuhart's spawn location
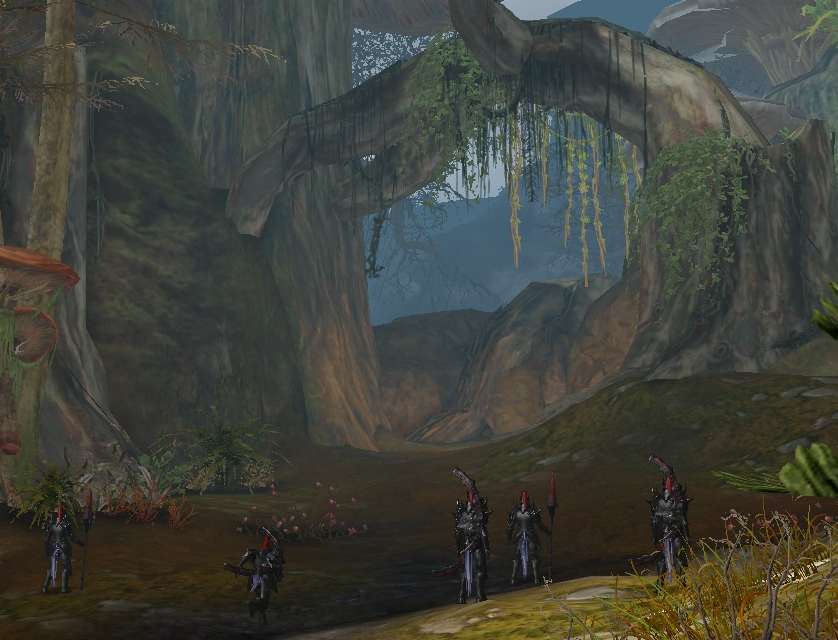
Across the valley there will be Balaur posts which have barricaded the way. There being four posts, the group must get passed all of them in order to reach the following area. However, <Lieutenant Anuhart> will be slowly walking in the same direction, and getting 20 metres or less close to him leads to instant death, due to his skill ![]() <Mark of Death>. As such, players must hurry to keep as much distance away from him as possible, but also find the balance of the amount of mobs the group can manage at a time.
<Mark of Death>. As such, players must hurry to keep as much distance away from him as possible, but also find the balance of the amount of mobs the group can manage at a time.
Due to the radical decrease in difficulty, the following section can be overlooked for the most part of the section as <Lieutenant Anuhart> generally will not push too much. The group designates a person to deal with ![]() <Thorn Tentacle Traps>. When laid up, <Lieutenant Anuhart> will receive a debuff which will reduce his movement speed considerably. This will give the rest of the group more time to deal with the barricades. When picked up, traps will last 2 minutes in a player's inventory, and when set up they will last 30s on the ground. This is mainly important on the path before the first post, but can be dismissed for the rest.
<Thorn Tentacle Traps>. When laid up, <Lieutenant Anuhart> will receive a debuff which will reduce his movement speed considerably. This will give the rest of the group more time to deal with the barricades. When picked up, traps will last 2 minutes in a player's inventory, and when set up they will last 30s on the ground. This is mainly important on the path before the first post, but can be dismissed for the rest.

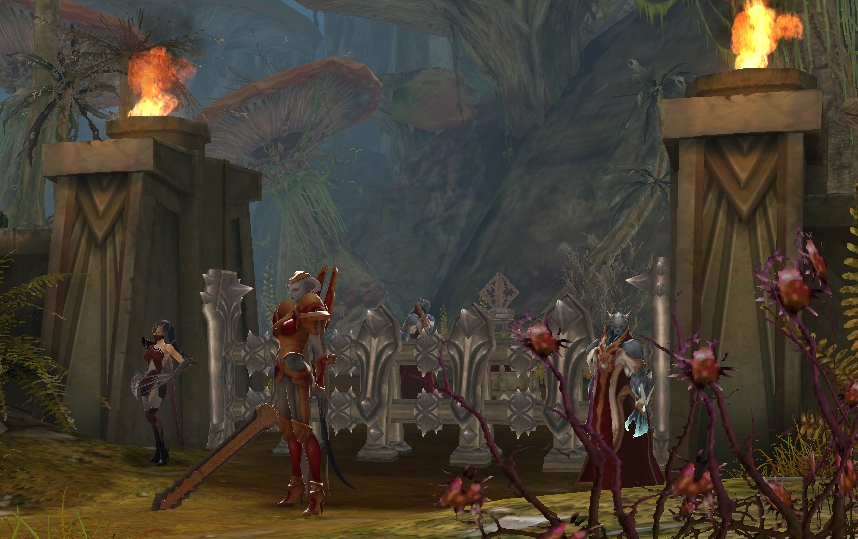
Post with Fence
In case more traps are needed, additional traps can be found in the caves. These caves connect to the main road between every post, and will contain a <Supply Chest>, rewarding two more ![]() <Thorn Tentacle Traps>.
<Thorn Tentacle Traps>.
Posts will be of either two types; an iron fence or Balaur only. The fence type barricade will contain a <Dark Spore Road Iron Fence>, guarded by a <Anuhart Drakan Combat Officer> and a few other Balaur. These fences only receive 1 damage when attacked and will summon additional guards depending on their HP.

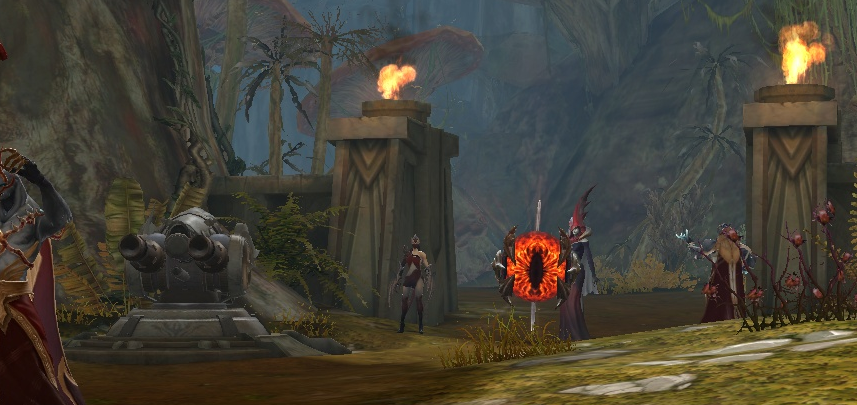
Post with Balaur Mage
The other type of post is conformed of Balaur only. This one will have a <Anuhart Drakan Mage Officer>, a <Spore Road Post Monitoring Device>, a <Spore Road Balaur Aether Cannon> and other side Balaur guards. When destroyed, the <Spore Road Balaur Aether Cannon> will become mountable by players, which will allow an easier time taking down the <Spore Road Post Monitoring Device>. Taking them out is crucial, as it will boost Anuhart's speed considerably.
Other additional obstacles in Darkspore Road are <Balaur Explosives Stockpile>, <Balaur Magic Relic> and <Anuhart Drakan Healers>. The explosives are guarded by a <Drakan Device Maintenance Soldier>. Once <Lieutenant Anuhart> passes by it, the entirety of the valley will explode in flames, annihilating all group members and resetting them and <Lieutenant Anuhart> back to the beginning. It is a must to take care of the <Drakan Device Maintenance Soldier>, thus disabling the explosives.
<Balaur Magic Relic> and <Anuhart Drakan Healers> are just as dangerous. As <Lieutenant Anuhart> reaches them, they will temporarily buff him up with ![]() <Legion Shriek>, greatly boosting his movement speed. These must be destroyed as well, as players encounter them.
<Legion Shriek>, greatly boosting his movement speed. These must be destroyed as well, as players encounter them.
At a certain point, players will be prompted to "find another route", randomly as <Lieutenant Anuhart> walks around. When the area turns into a sea of flames, much like with the <Balaur Explosives Stockpile>, it will instantly kill anyone standing on them. However, unlike the other case, this one can be avoided by heading inside any of the side hideouts in the road (caves), acting as a safe place as the flames disappear (few seconds afterwards) and resume pressing forward.
If the group is shorthanded by the time they reach the final post, such as not having their healer or tank dead, the rest of the group can try damaging the <Dark Spore Road Iron Fence> from distance. As Balaur are not friendly towards the fence (even the mobs spawned by it), the group may take it down with ranged attacks and go through into the mine. This will cause <Lieutenant Anuhart> to disappear and allowing access to the following section.
Timolia Mine[]
This small portion of the instance is meant to be a rest between the final boss and the previous section. Only featuring a small amount of Balaur. These are the only mobs that will drop items and reward XP. Heading into the Room of Dimension, the group must go through the portal at the top to be teleported to <Kroban'sArtifact Overlord Kroban> hideout.
Artifact Overlord Kroban[]
Interacting with the three crystals in the middle at the same time will summon <Artifact Overlord Kroban>, being a mostly easy fight, only part of his skill set will be generally experienced.
His attacks will consist of ![]() <Stonequake> (frontal cone AoE attack),
<Stonequake> (frontal cone AoE attack), ![]() <Wrathful Strike> (single person attack),
<Wrathful Strike> (single person attack), ![]() <Abyssal Slash> (area of the target) and
<Abyssal Slash> (area of the target) and ![]() <Thunderstrike> (single target attack). When low on HP, he will put a random group member into an aerial state and cast
<Thunderstrike> (single target attack). When low on HP, he will put a random group member into an aerial state and cast ![]() <Drain>. It will create a shield on Kroban, which can be broken after a certain amount of damage and being able to cancel the casting of this skill. If
<Drain>. It will create a shield on Kroban, which can be broken after a certain amount of damage and being able to cancel the casting of this skill. If ![]() <Drain> goes off, Kroban will recover nearly 10% of his HP.
<Drain> goes off, Kroban will recover nearly 10% of his HP.
If the group overcomes it, <Artifact Overlord Kroban> will leave behind a chest. When opened, this one will drop a variety of rewards.
Quests[]
- Elyos
 [Instance/Group] Unstable Polten Marsh Fragment [?]
- [Instance/Group] Artifact Overlord Kroban [?]
- Asmodians
- [Instance/Group] Unstable Cursed Canyon Fragment [?]
- [Instance/Group] Kroban who Occupies the Artifact [?]
- Bobonerk's Agency
These are high XP rewarding quests (100m XP) which are given out by Bobonerk, only requiring to kill the last boss. By completing the quest associated with this instance, the one related to Archives of Eternity will be unlocked. These are unlocked by completing the quest related to Drakenseer's Lair.
- [Instanced Dungeon/Group] Request 4: Fallen Poeta [?]
- [Instanced Dungeon/Group] Repeated Request: Fallen Poeta [?]
Rewards[]
- Kroban's Chest
- Kroban's mythic accessories
- Kroban's Lost Wing Feather
- <Kroban's Accessory Box>
- <Tempering Solution>
- <Essence Core Solution>
- <Base Major Enchant Supplement Bundle>
- General
- <Omega Enchantment Stone>
- Associated Quests:
Bandits of Greed[]
Bandits of Greed will sometimes appear in this instance. They spawn right in the first post, next to the Balaur guards. They disappear after some minutes if they are not attacked. Once attacked, it will attempt to run off and despawn. If killed, they will drop a bundle for each group memmber, which will be automatically opened when picked up.
Trivia[]
- Originally this was a full group instance for level 66 players and above. After 5.8, its difficulty was drastically reduced and changed into a 3-player version intended for at least level 72 players.
- This map was partly added as a mini game instance, as something extra for players.
- This instance's layout is a trimmed terrain of Dark Poeta.